Skip to primary navigation
Skip to main content
Skip to primary sidebar
About This Site
Project Gallery
Decluttering Guides
About 40 BAGS IN 40 DAYS™
House Tour
Most Recent Projects & Posts
Search
menu icon
search icon
Search
About This Site
Project Gallery
Decluttering Guides
About 40 BAGS IN 40 DAYS™
House Tour
Most Recent Projects & Posts
×
kitchen
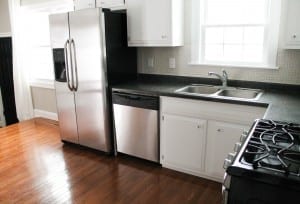
How to Afford a Kitchen Remodel
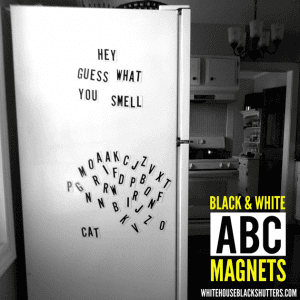
Black and White ABC Magnets
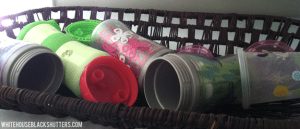
Sippy Cup Storage
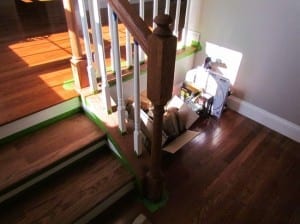
The “Before the After” Pictures
Foyer of the Future
They Make Our Kitchen Look New
Next Page »