It's January and with it comes the desire to organize and declutter all the things.

I'm a firm believer in decluttering before organizing. We've worked to simplify our belongings down to mostly those we use, enjoy, or find useful. We've gone through every area of our home through the 40 Bags in 40 Days challenge and are finally ready for the fun part: baskets and creative organizing! 🙂
For this month's Michaels Makers Challenge, we were asked to share organizing ideas and inspiration to give you a fresh start to the New Year.
I decided to share a creative idea for organizing your board games. The boxes are often colorful and don't necessarily go with the surroundings. If out of sight, you don't play them. If in hidden storage down low, our little kids will dump them out.
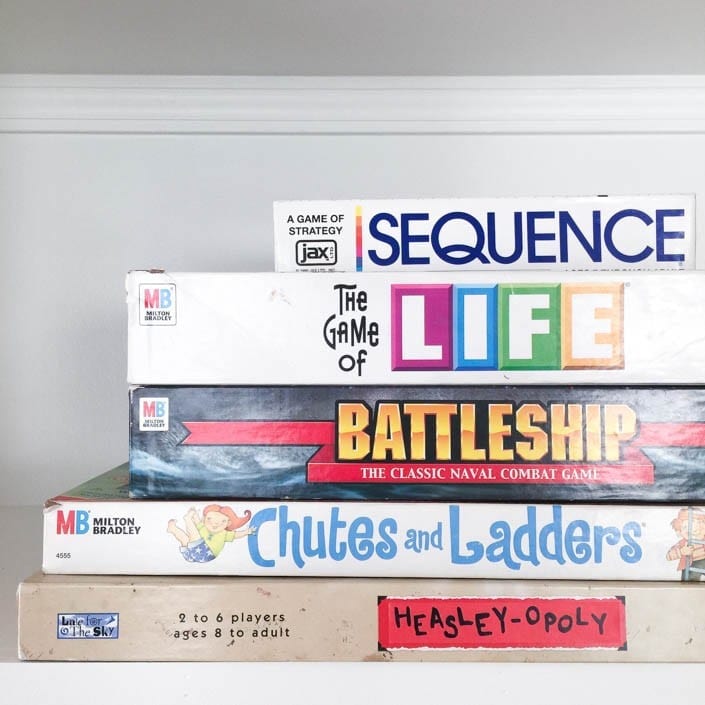
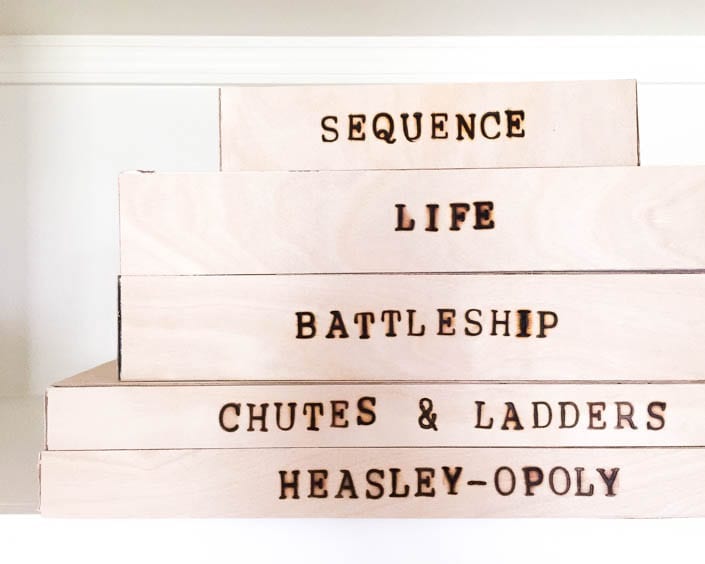
I racked my brain and found a solution: wood birch veneer!
 I used my Cricut Explore 2 Air machine to cut 12"x24" sheets of 1/32" birch plywood, which I found at Michaels near the hobby crafts section.
Materials Needed:
- Board Game, to cover
- 12" by 24" by 1/32" sheet of birch plywood
- ruler or t-square
- X-acto knife OR Cricut machine
- strong grip Cricut cutting mat
- deep cut Cricut blade
- fine sanding block
- spray adhesive
- wood burning tool + hot alphabet stamps (optional)
- stain (optional)
First, measure your game board. If you do not have a Cricut, you can trace it onto the plywood sheet or trace lines based on your measurements. I tried this for the first box then remembered my Cricut could cut wood. *lightbulb moment*
I made rectangle shapes in my Cricut design space app by taking my measurements and inputting them into my phone. The app then sent the projects wirelessly to the machine.
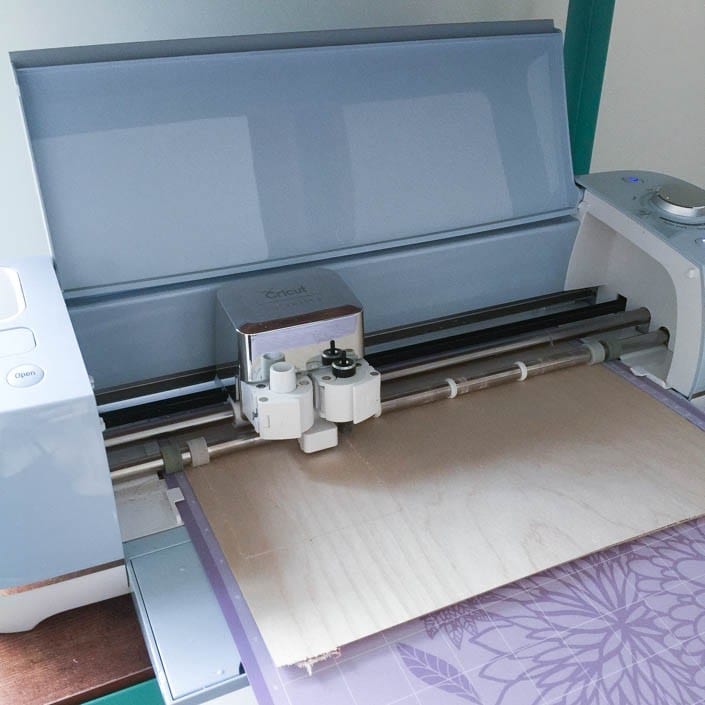
I loaded the sheets onto a strong grip mat, replaced my regular blade with a "deep cut" blade, and sent my project to the machine. When cutting each sheet, you'll want to turn the dial to "custom" and select "Wood, birch" from the drop down menu in the app.
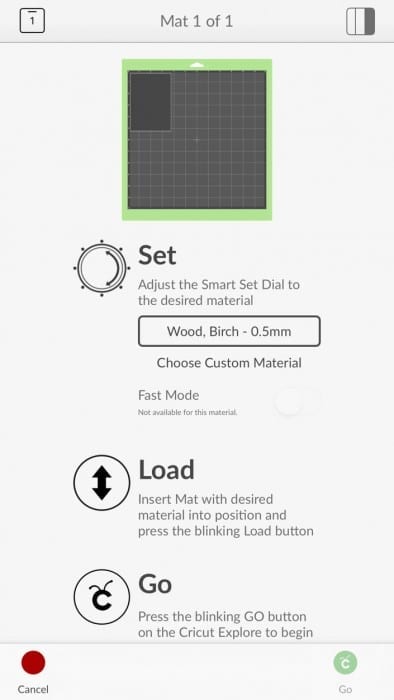
By selecting this option, your machine will make 2-3 cuts into the wood. I found it much, much easier to pop the wood pieces out if I ran my project through an additional three times. After each mat finished, I would hit the flashing Go button on the machine (the letter C button) and it would repeat the cuts.
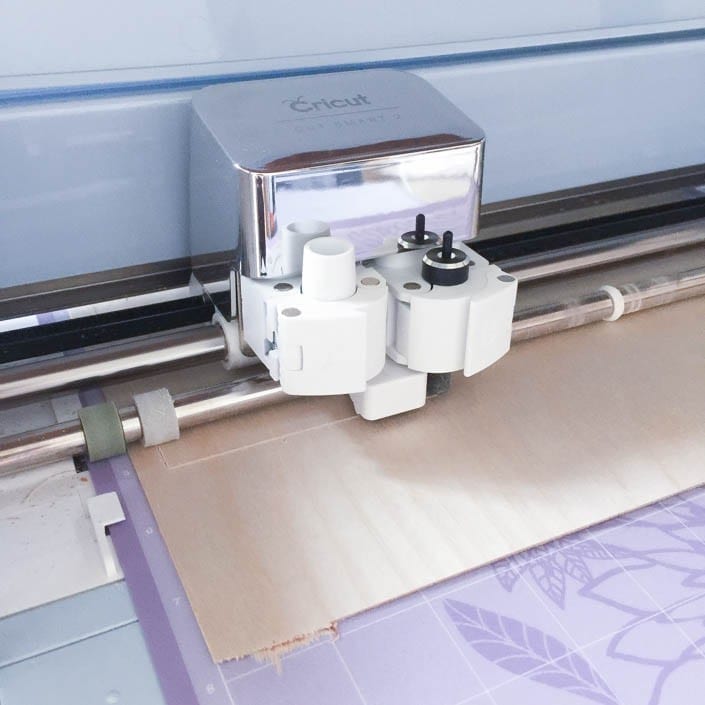
Once the sheets were done, pop them out and lightly sand all edges.
To give the box a little label, I took a wood burning tool and alphabet stamps and labeled a long side of each box. This would work great on wooden tags or boxes in place of a label.
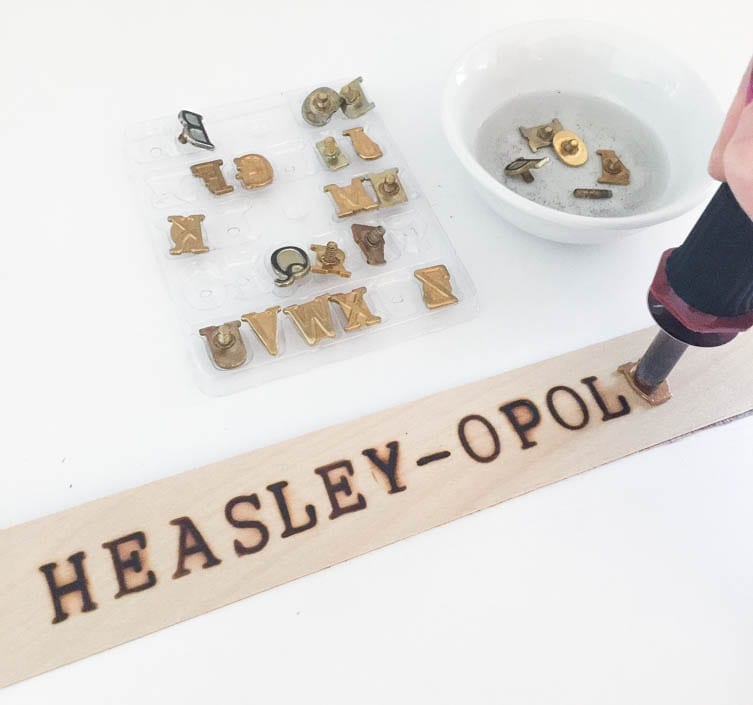
After the label was ready, I took the top of the game and taped over any rips or damage. Take the top into a well ventilated area and coat it with spray adhesive. Add each side of the box one at a time, carefully pressing the wood plywood into the cardboard as you go.
To let it dry, I set each box top upside down and weighed it down. I clamped the sides as well to make sure the box and wood bonded. Read the instructions of the spray adhesive for drying time, mine were ready to go on the box after an hour.
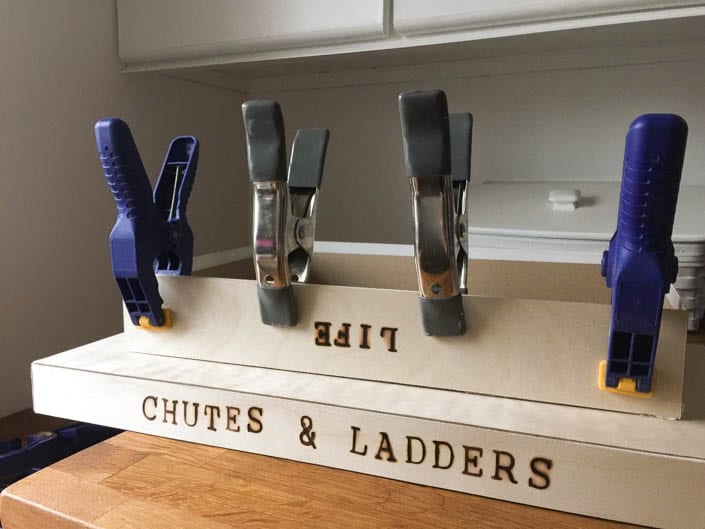
I'm really happy with how it turned out! The boxes weren't horrible, but the wood helps them to blend in and not stand out as much. Now they stand out in a good way. 🙂

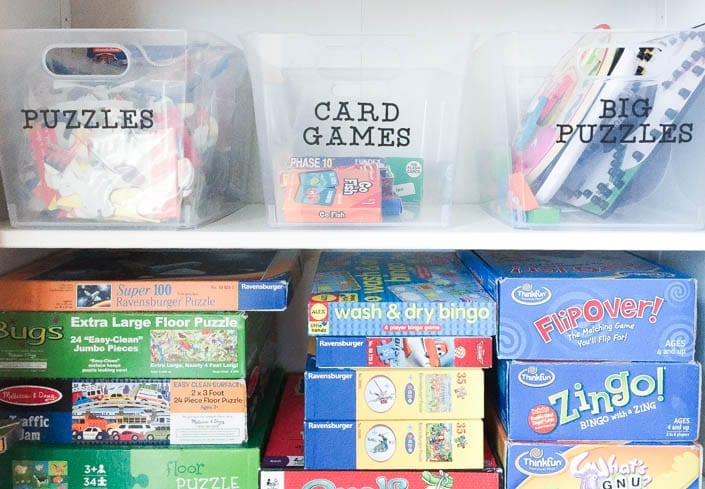
I rearranged our games and used these metal bins from Michaels to organize our large checkers set and dominos which were sitting in here in giant plastic bags before. Tip: Add felt bottoms to the baskets so they don't scratch your surface.
The bottom of these cabinets can't be seen, so I didn't mind if everything looks like a colorful preschool classroom. 🙂 I stacked the puzzles and kid games within easy reach. These plastic baskets are great, I used my Cricut to add vinyl lettering. One for puzzle bags, card games, and big puzzles.
Whether it’s planning the family schedule, cleaning out your pantry or getting the kiddos ready to head back to school, Michaels has everything you need to help you get organized this year.
Looking for more organization inspiration? Make sure you visit Michaels’ blog, The Glue String, to see the rest of the Michaels Makers’ organization project ideas.
Disclosure: This post is sponsored by Michaels Stores. I am one of their “Michaels Makers” project creators and was provided with store credit to purchase products to craft this post. All ideas and opinions are my own, and I only recommend products I use or would purchase again.


carol
Another, perhaps less time-consuming way to camo the game boxes would be to cover the lids in gift paper in a color that suits your decor.
Ann Marie Heasley
That's a great idea!