Skip to primary navigation
Skip to main content
Skip to primary sidebar
About This Site
Project Gallery
Decluttering Guides
About 40 BAGS IN 40 DAYS™
House Tour
Most Recent Projects & Posts
Search
menu icon
search icon
Search
About This Site
Project Gallery
Decluttering Guides
About 40 BAGS IN 40 DAYS™
House Tour
Most Recent Projects & Posts
×
basement
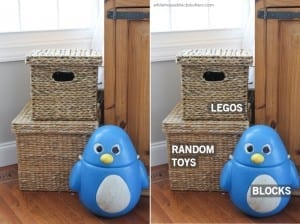
How to Keep the Toys from Taking Over
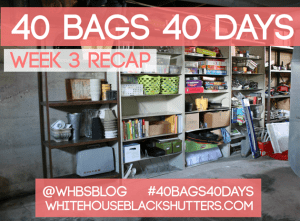
40 BAGS 40 DAYS Week Three Progress
End of Summer Purge and Organize
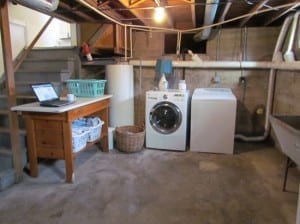
Basement Laundry Room Clean-up
Kids' Playroom in an Unfinished Basement
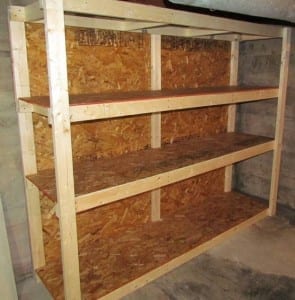
How to Make a Basement Storage Shelf