
Hi friends! Recently I shared a photo to our Facebook page of our bright office update, complete with a planked ceiling. I just couldn't take it anymore! (Keep scrolling if you want to see it.) I didn't want to wait to write the post, I was ready to share it right then. The renovations in this home are progressing quite quickly and we've (I say "we" when I really mean Doug) been hustling to get the whole upstairs finished right away.
I'm going to just start sharing short and quick posts, I hope that's okay with you! I'll go into more details of the projects later, but for now, I want to keep you all updated.
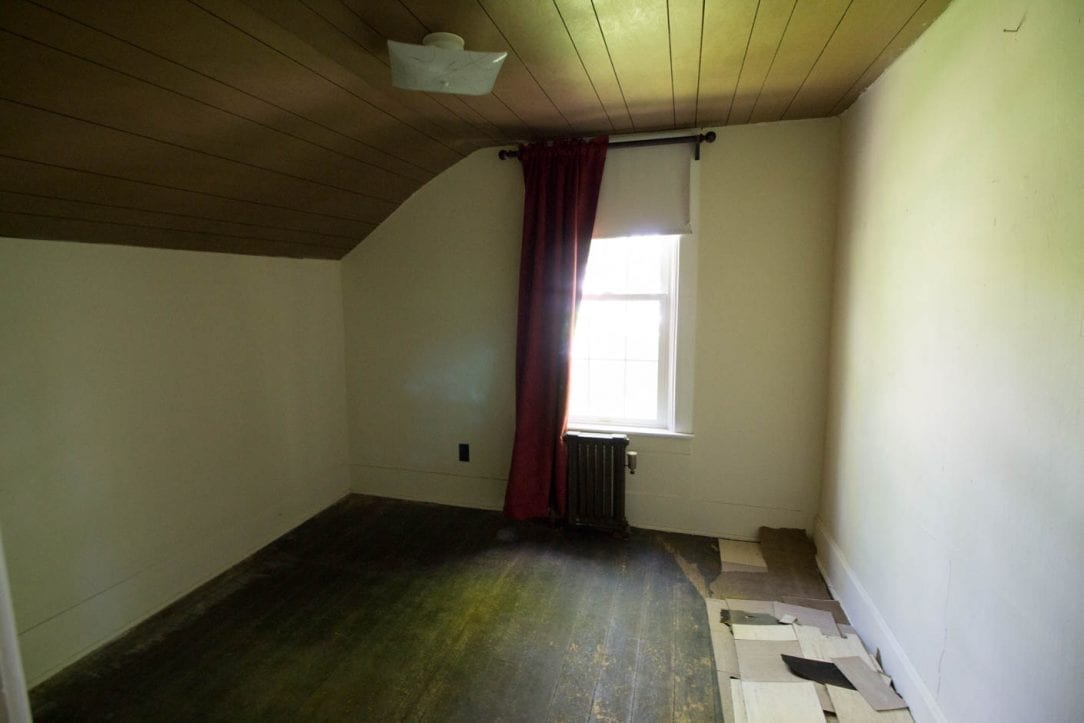
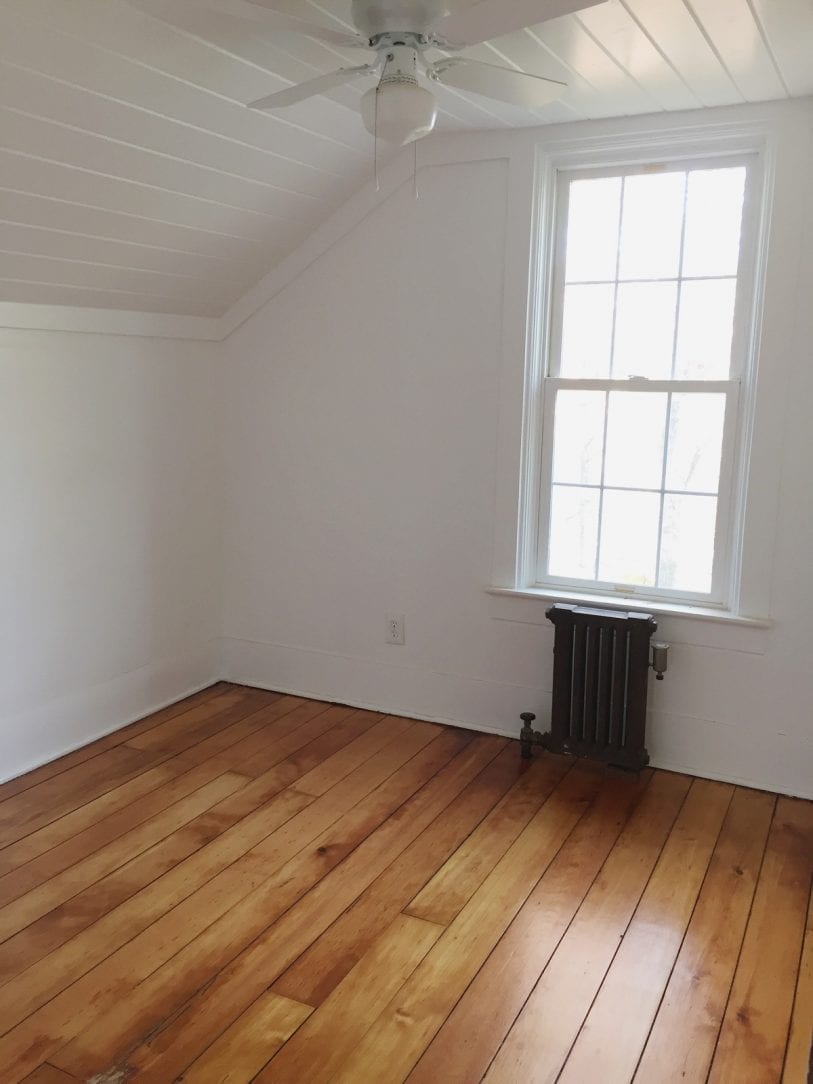
Here is our office and 4th bedroom before. It was a small room and really dark, so I wanted to go BRIGHT in here. We didn't know what to expect but soon found the faux paneling was hiding damaged plaster. You can see the tile flooring was scraped up before we moved in.
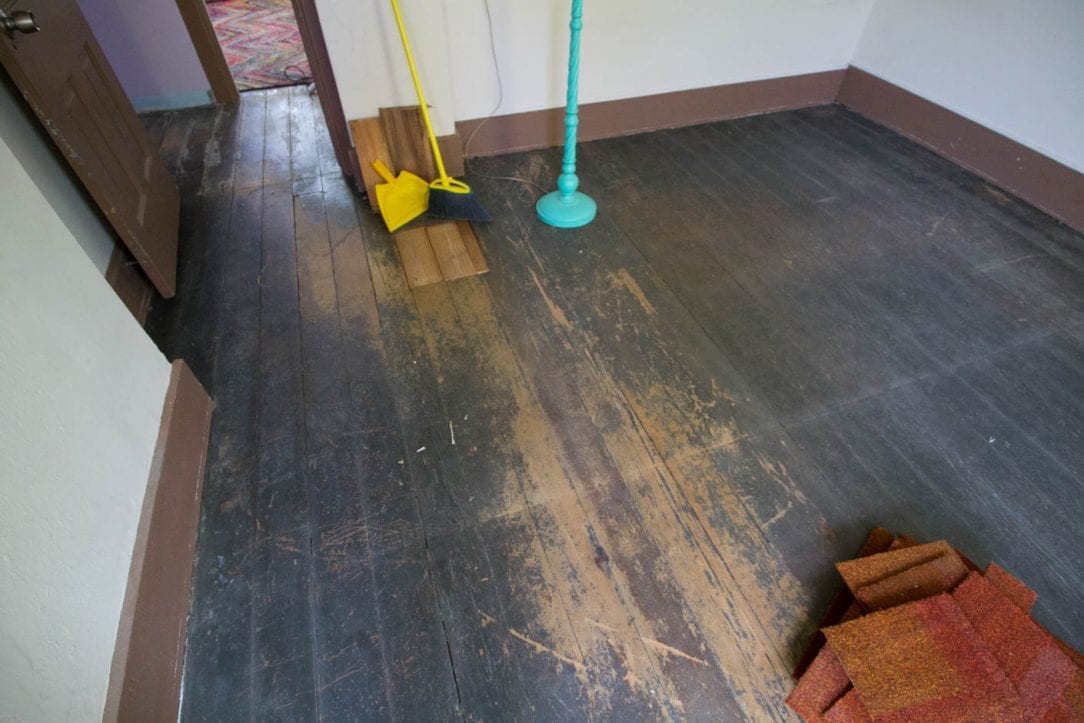
Here's a closer look at the flooring in our master bedroom, which was very similar to the office floors. We discovered soft pine hiding under everything and had hoped to refinish it rather than cover it.
After he took down the old paneling, this is what lie underneath. Crumbling plaster, a grid structure, and some more paneling holding up things. He added to the grid with furring strips, then added tongue-in-groove pine. Not only did it look good, it would add support. It was more $ than the faux shiplap methods you can find online, but we needed the support, and I love the textured look.

After the ceiling was finished, we added 1x4 quality finishing trim to finish it off. Where the wall meets the ceiling was quite uneven, so we used it to finish it and close any gaps. It also doubles as a simple crown moulding.
After that was done, he caulked all the nail holes and joints, applied 2 coats of primer, and 2 coats of Behr's "Polar Bear" in their Marquee line, with a satin finish. Normally you'll do semi-gloss on trim, but we used satin so it could go on the walls as well without being too shiny.
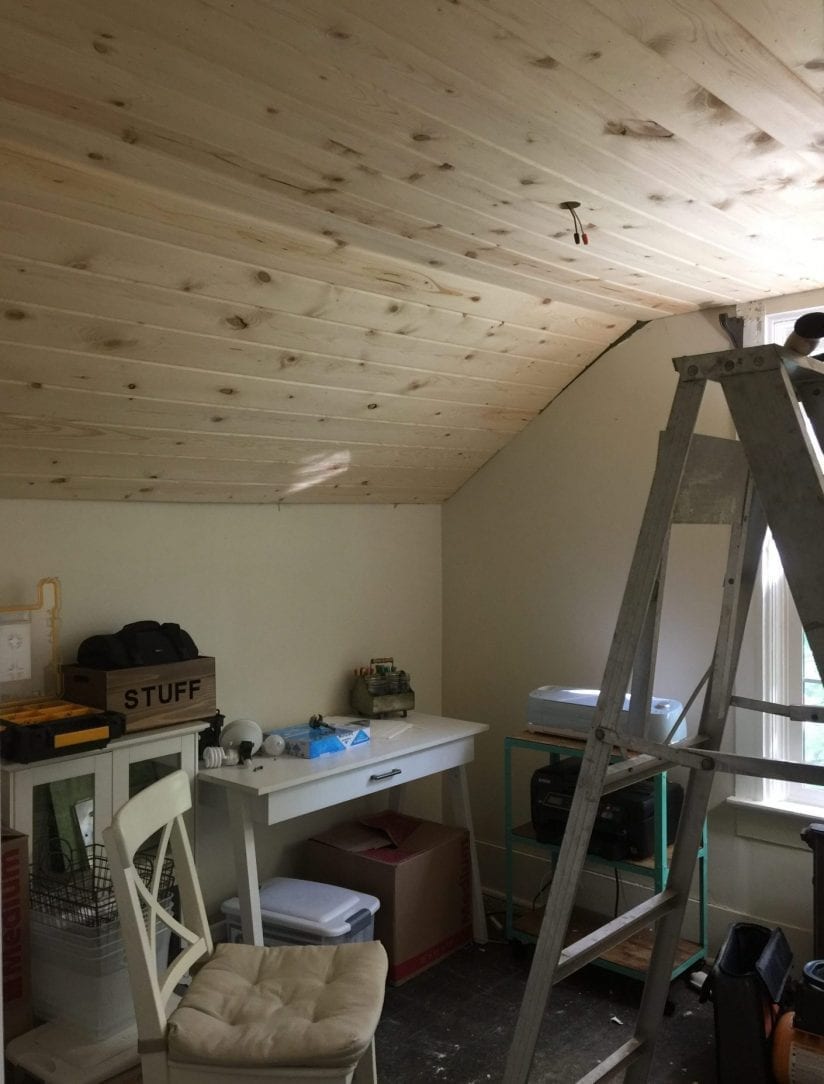
After 2 coats of primer, 1 coat of paint:

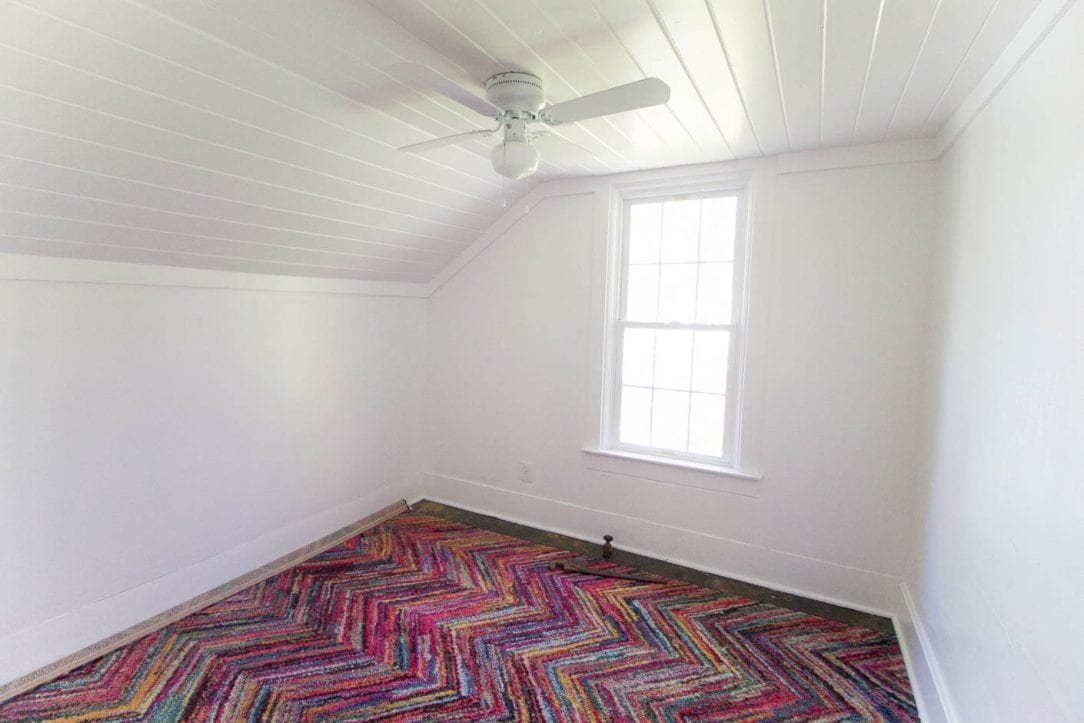
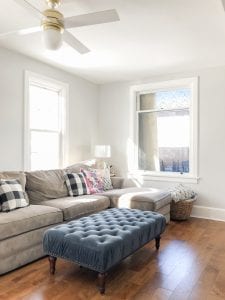
And after it was finished! When I took this, the floor wasn't done yet, so we covered it with the rug from this colorful room. Here's the 42" schoolhouse fan, it's the perfect size for this room.
And here's a phone picture of the completed room with the finished floors.
I can't quite put into words how excited and surprised we were with their outcome. We bought this home not knowing anything about the condition of any floors, but hoped we'd have some sort of original wood. More on these in another post!
So this is where we're at now. All the kids have moved into their rooms, some of the mattresses are no longer on the floor. 🙂 I'm starting to get to the fun part - making decorating decisions! My style is normally collected over time, neutral, yet little unexpected elements. I sold a lot of furniture and decor before moving, am trying to repurpose things we already have, and if that doesn't work, then find something new or new-to-us. Although I like the idea of a home put together over time, I'm also wrestling with wanting to be done, haha!
Earlier today we started work on our master bedroom. In the meantime, we've moved our queen bed, a dresser, and the office desk back in here. It's a tight fit, but cozy, and this room has quickly become one of my favorite rooms in the house. I just love looking up at the planked ceiling while lying in bed. And the radiators give off the best heat!
What do you think of the progress so far?
If you're not following me on Instagram, @whitehouseblackshutters, you should! I've been sharing much more sneak peeks over there, plus little views of life, projects, what we're up to in my Instagram story.


Hilary
It looks awesome!
Carol
i love the look. So clean and bright. I wouldn't mind studying ;and doing bills in this room at all! Great job!!!
Torry
What a difference! I love the look!
Elisabeth Johnson
It looks amazing Ann!! You amaze and inspire me everyday!!