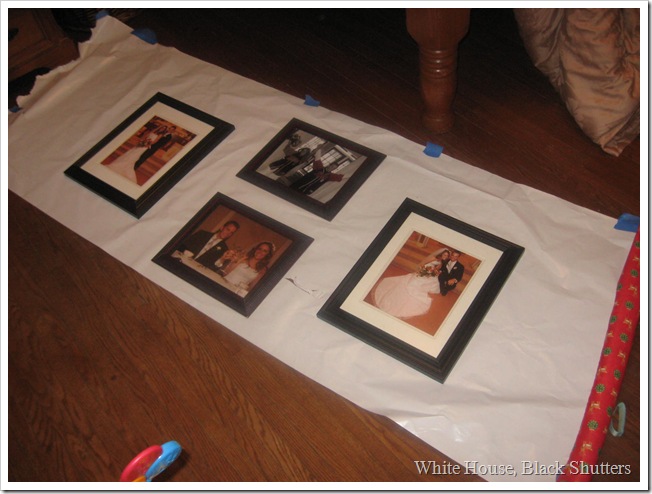
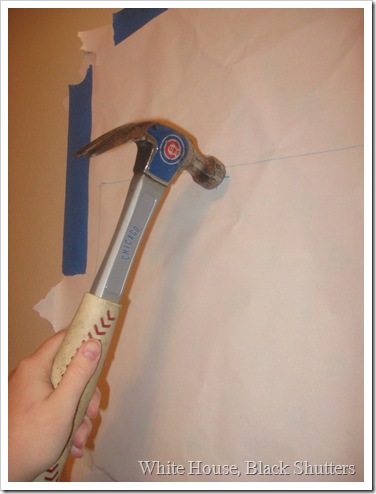
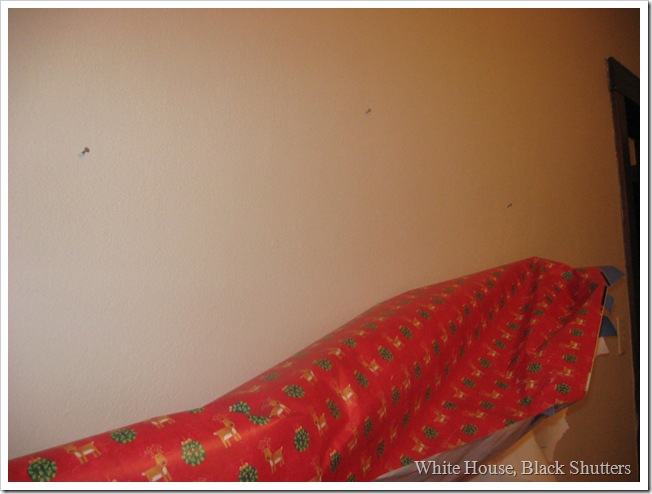
Our plaster walls make me nervous to nail anything in our walls.But I finally got some guts and here's how
-Decide on your theme, get your frames all set. I wanted to do a grouping of photos from our wedding. I used the free photos that came with our wedding package and some frames I’ve picked up. The two on the outside were from Good will, $2.99 each, matting was $2 each on clearance from Walmart. The frames were a medium honey wood and I sprayed them with ORB. The two frames on the inside I got for a dollar each from a garage sale last summer.
-Put your baby in her saucer so that she won’t get into the wrapping paper and tear it to shreds.
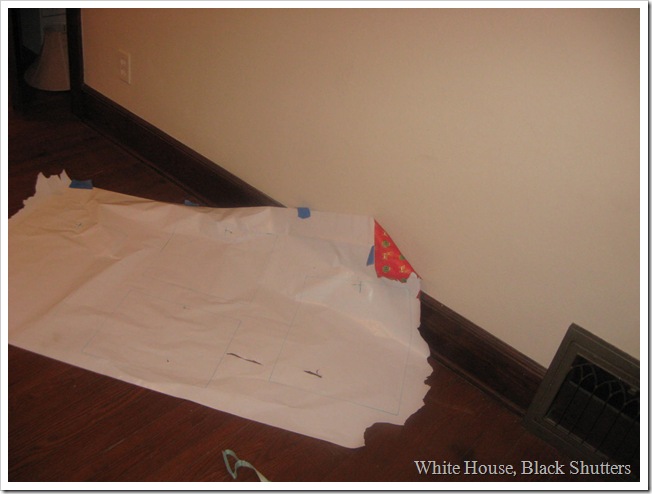
-Put pictures on your wrapping paper. Measure the spacing in between pictures to make sure they’re all nice and centered. Use a level to make sure the pictures will be straight.
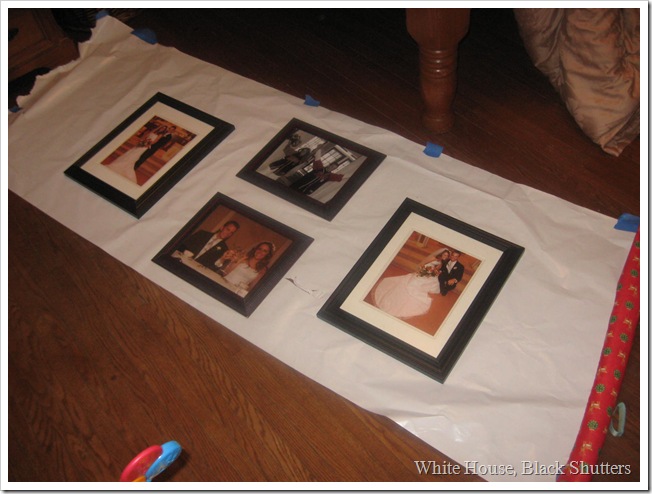
-When you have everything placed just how you want them, trace around them onto the paper.
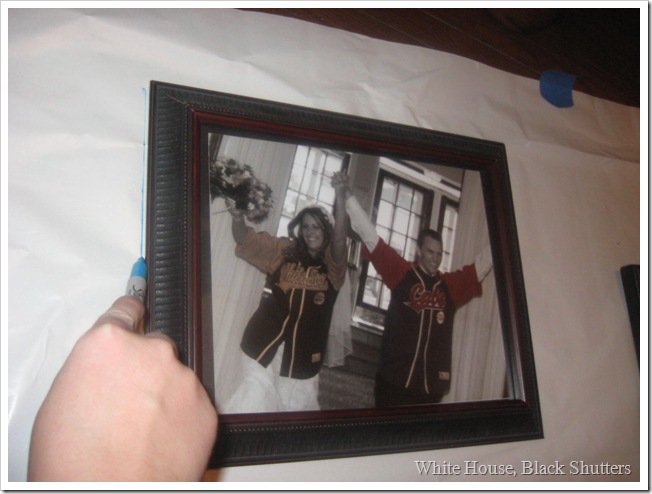
-Once you’re done, flip the picture over so that you can see where the nail will need to go. Measure how far down your nail needs to be (a half an inch down) and mark a horizontal line onto the wrapping paper that same distance from the line.
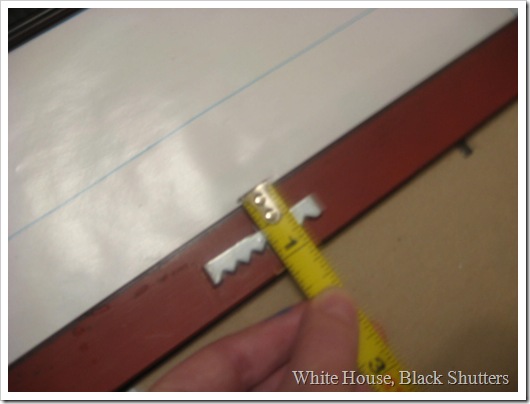
-Mark a vertical line onto the frame that passes through where the nail will go into the bracket. Use your ruler to make a corresponding vertical line onto the wrapping paper.
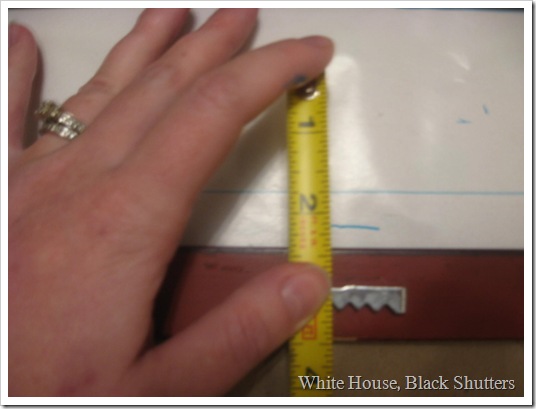
-This intersection will be where your nail will go to hang this picture. Not a perfect pic or perfect lines, but whatev.
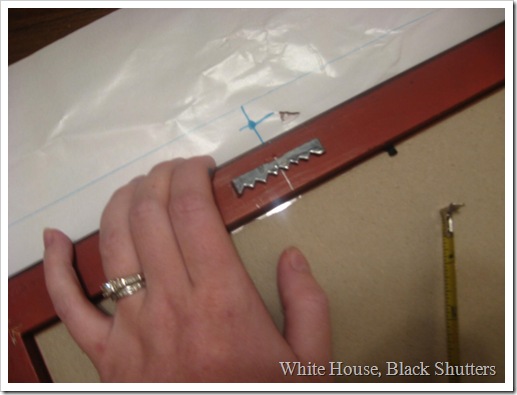
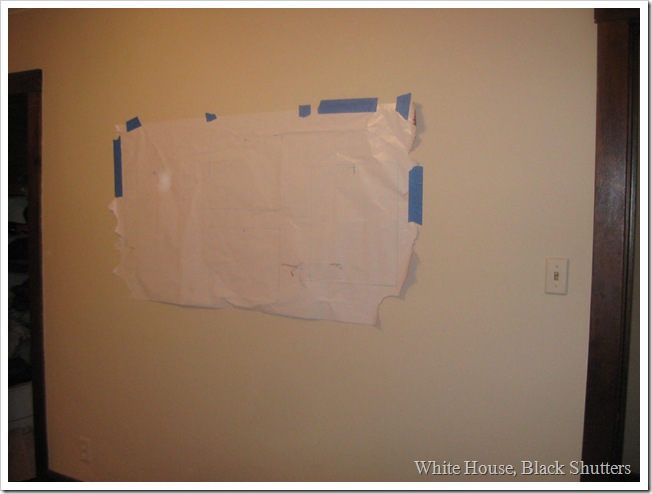
-Repeat for the rest of your pictures until you have an spot for a nail for each picture. Hang the wrapping paper onto your wall using painters’ tape (or other tape that won’t peel off your paint). Measure where exactly you want the pictures to hang in relation to the wall. Use a level on the traced pictures, not the wrapping paper, to make sure they are level.
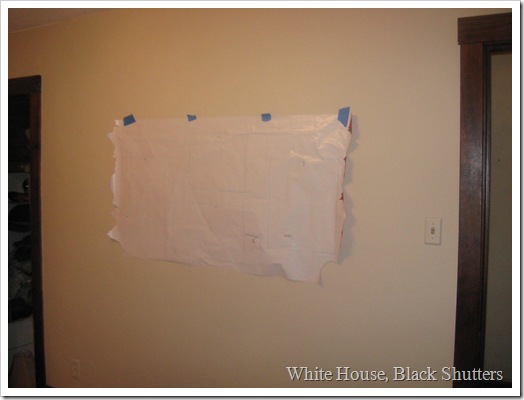
-Use enough tape, otherwise you will get VERY mad when your paper falls down after you measured and leveled it carefully to your heart’s desire.


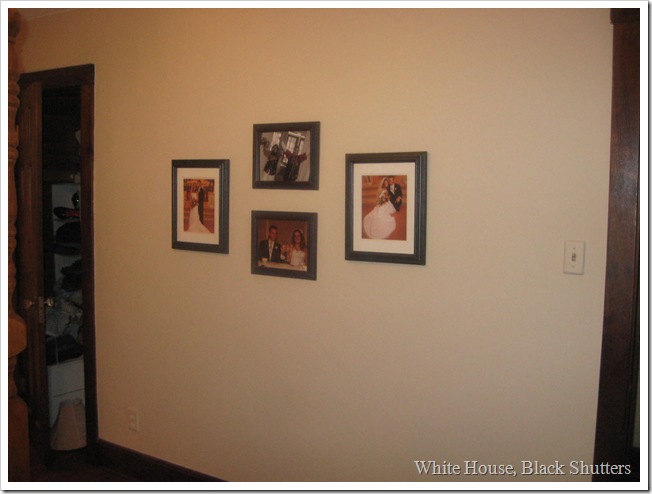
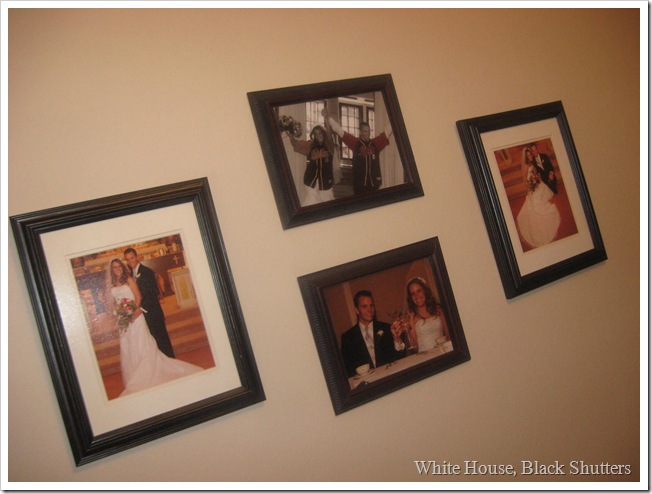
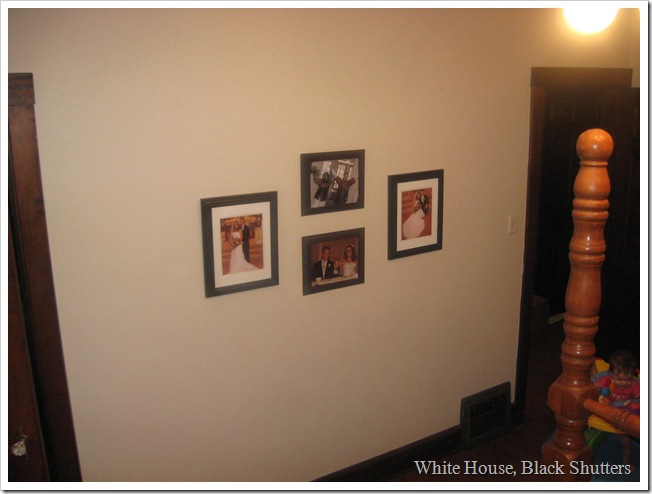
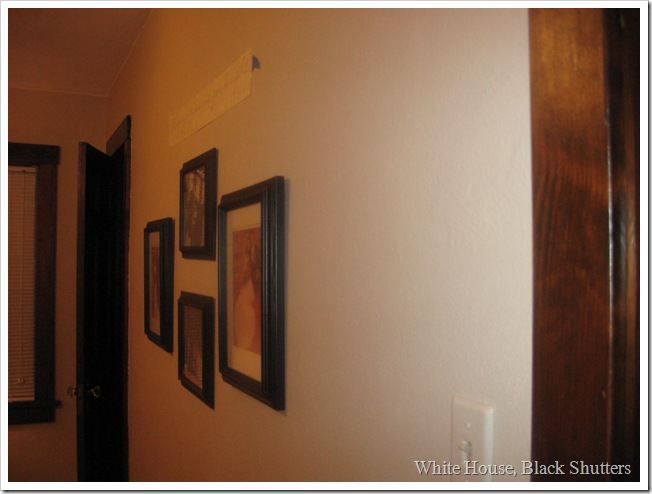
Sunshine and Shadows
I love you for posting this. I struggle with hanging pictures - this is the best idea I've seen. Thank you, thank you, thank you!
AM from White House, Black Shutters
Thanks! I thought it was a great tip also when I saw it, had to share. It def saved my wall from a lot of abuse. I am AWFUL at hanging pictures!Heather - I'm glad I'm not the only one laughing (yes, at myself), sometimes I write these wondering if people will think I'm off my rocker! Are you a fellow Sox fan?!? And thanks! I think she's adorable, but of course I'm her mom. 🙂
Heather
First of all Hilarious!(a la Jack from Will & Grace) Cubs hammers are so dumb!!! What a great post this on so many levels. Informative AND funny! That's the best kind!!!Second, your baby is soooo cute!!!And third, what a super idea! Gift wrap as a working tool...how about that!
mrs_muffins
Awesome! I always have a hard time hanging frames, lol. Thanks 🙂
cookies and cups
That trick is awesome! I will definitely have to use that next time I am hanging frames 🙂
AM from White House, Black Shutters
Seeeeee... that's what I thought! lol oh well, I'm pretty sure that after that I'm not going to move the pictures, lol! Thanks, glad you like it!
Bonnie @ House of Grace
I absolutely LOVE it!!! You did a great job! I love the wrapping paper trick! I will have to use that. I do NOT think it is too high (although we are the same height, hee hee.) Because you have the words above the pics, it is fine! Your room is looking great, can't wait to see the rest!