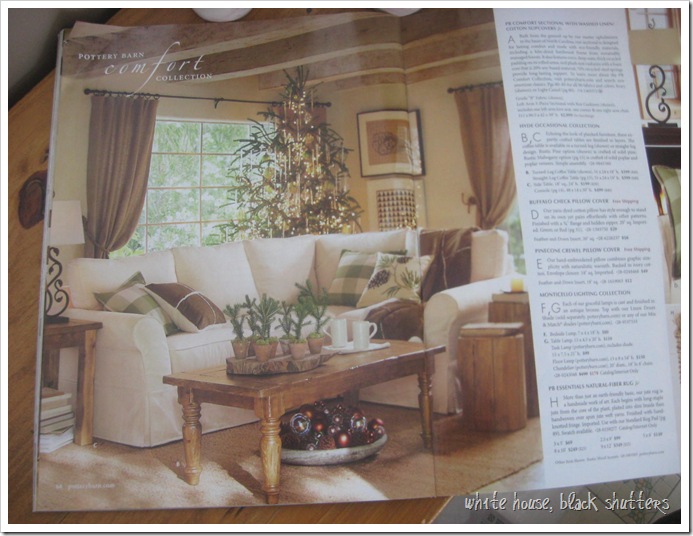
Once upon a time, I was browsing the pages of my PB Christmas catalog and found something I had to have!
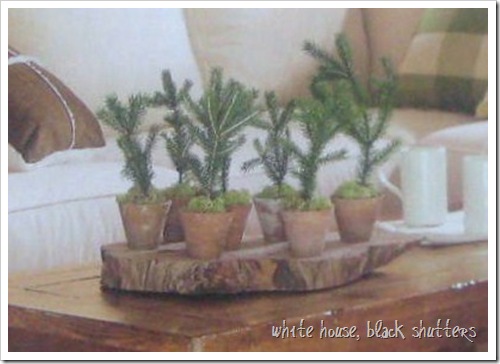
Not the couch, table, tree, curtains, rafters, ornaments, or even that house. No, no. Those are all gorg, but not what I’m talking about. Look ON the coffee table. Look at those trees! I’ll give you a close up since the best I could give you was a picture of the catalog. Yay for little trees!
I loved them! If you were with me back in November, you might remember my lofty dreams of homemade garland strung throughout the house. Sigh. Well all I ended up with was a few vases of greenery here and there and the lovely wreath pictured in that post. I was planning on making those tiny trees, which would have been oh so easy, but I never got around to it. Well, big news here…
I FINALLY GOT AROUND TO IT!
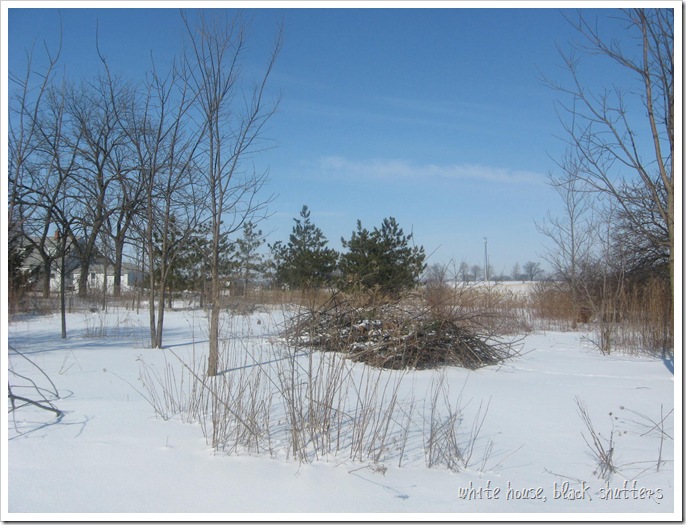
I trekked out through the 8 inches of snow (like my cute new boots???)
to our Pile O’ Wood in the backyard (I love trees, but we had a ton of junk dead sticks in the yard)
stopped to admire the absolutely beautiful blue sky
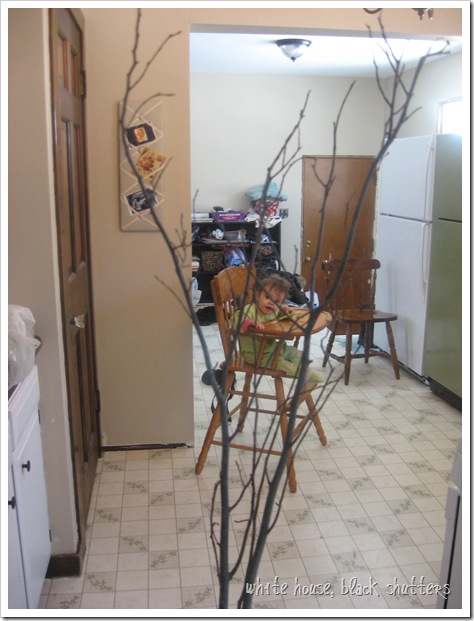
and found the perfect branch. Hi Lily!
Choose a branch with lots of good movement, curves, and/or lines to add interest. My florist dayswere too long ago to remember what I used, but it had lots of branches with tiny little branches branching off. Curly or regular willow, red or white birch, pussy willow, forsythia, or any budding or blooming branches would look gorgeous, but sadly I have none of those. Yet…
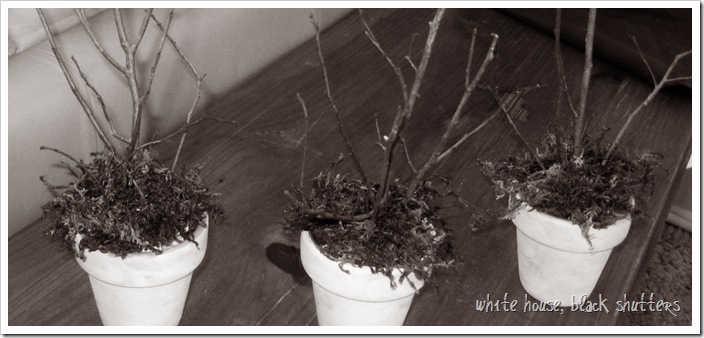
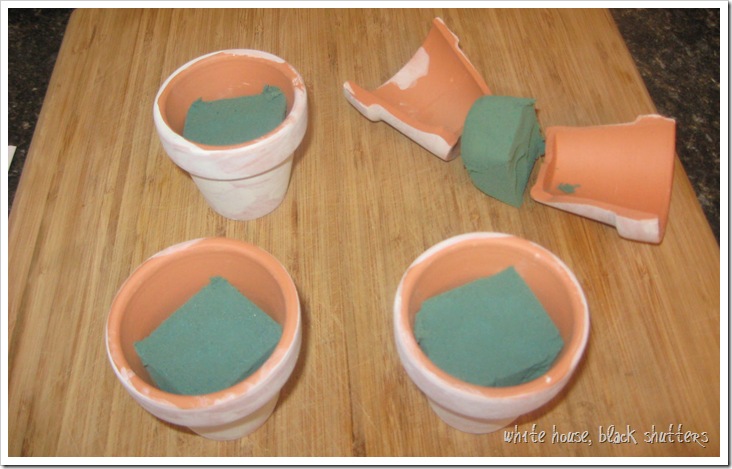
I took four small pots and painted them with a mixture of cream paint and water for a softer look. Then cut down Oasis floral foam and stuck it in the pots. Don’t push too hard like I did or you’ll end up with three pots…
You don’t have to wet your foam, but if you are using forsythia or another blooming/budding branch, wet it! Even if it hasn’t yet budded or bloomed, that water and your warm house will give that branch a jump start and force it to bloom! I have a feeling I’ll be stealing some forsythia in the future…
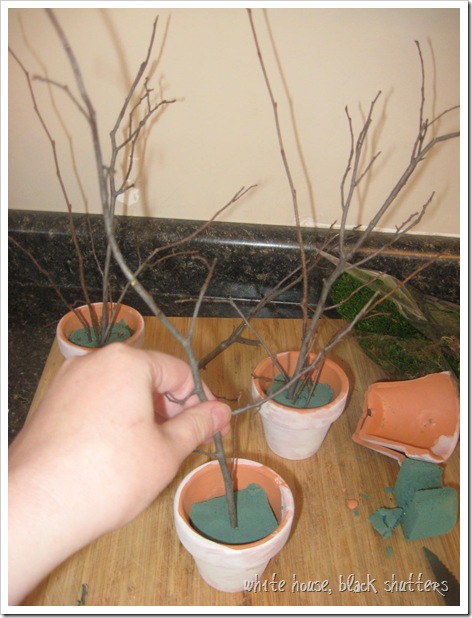
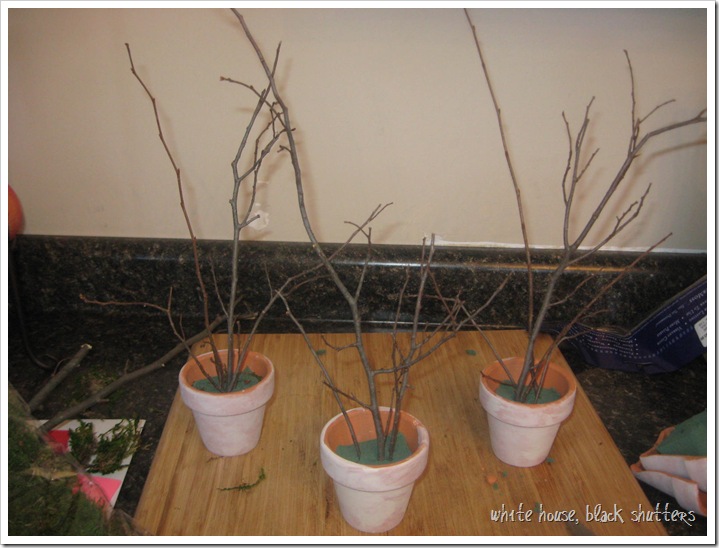
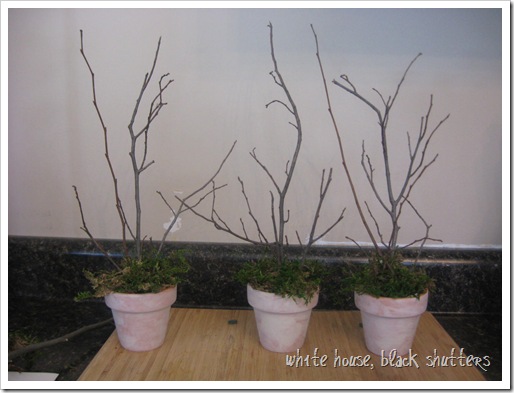
Cut your branch into smaller sticks, but don’t trim all of it right away, cut as you go. Look at the branch, hold it up to your pot, snip, put it in your foam, then repeat. You’ll find you’ll be more satisfied if you don’t just butcher into uniform sticks and just go where the branch takes you (as goofy as that sounds, lol).
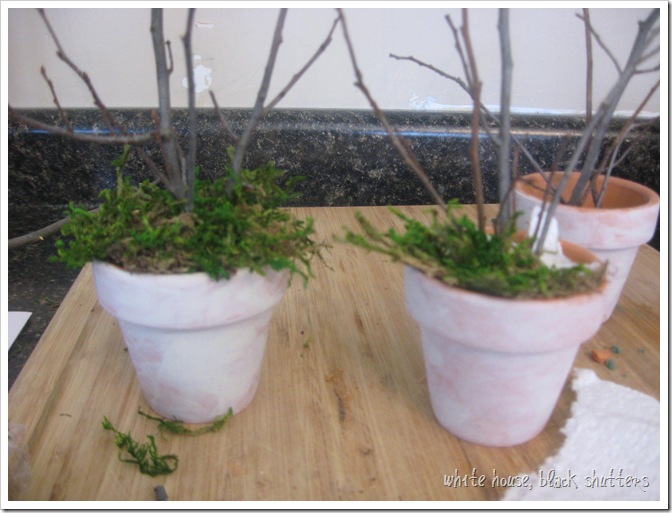
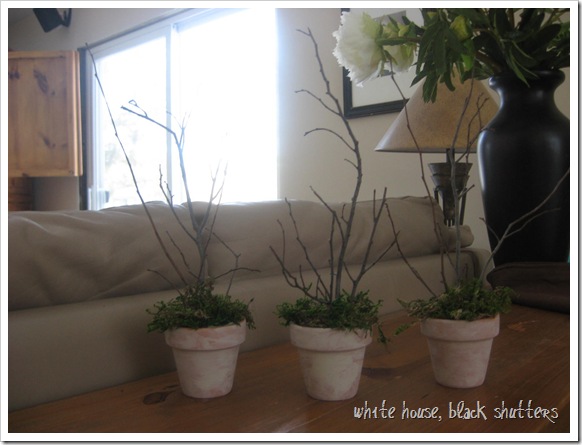
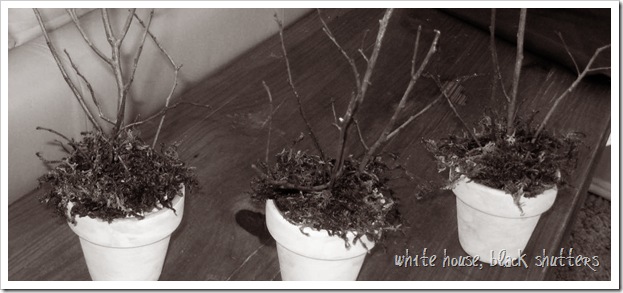
Take some moss and stick it into the pots. I used this beautiful green sheet moss, but that curly gray stuff or sponge-y green stuff would work great. Instead of taking off circles or sheets, break off little pieces and you’ll have a fluffier bed of moss like on the left. Unless you want it to look flat like on the right, I’m not judging! 😉
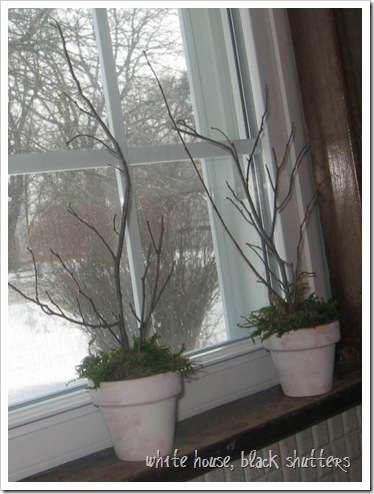
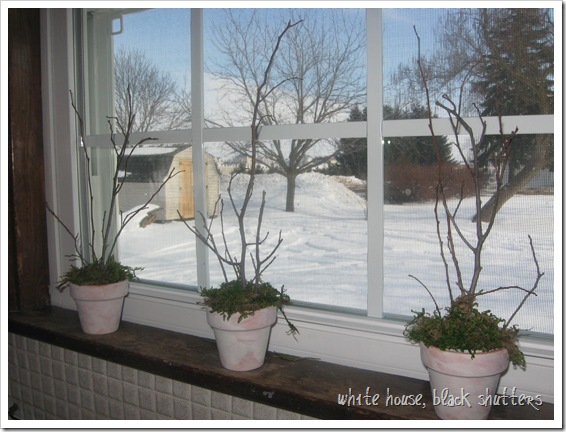
You’re done!
Now take pictures of your trees like they’re a supermodel.
$1.41 for 3 pots (at 47 cents a pot), $3.99 for the moss, but I used a very tiny bit of it, maybe $.50’s worth? I probably could have gotten pots on freecycle, but I didn’t want to delay project this any further….
Total of $1.91!
I’m in love with them!




Kaysi
Those are so cute and I have a ton of dead branches just waiting to be cut, thanks for the idea!Kaysi
Carol
I love your little trees! Very darling. I just might have to try it. BTW, I also love your boots!!
AM from White House, Black Shutters
Awww, thank you Rachel! 🙂
Amy {The Red Chair Blog}
So sweet! Love your boots too!