
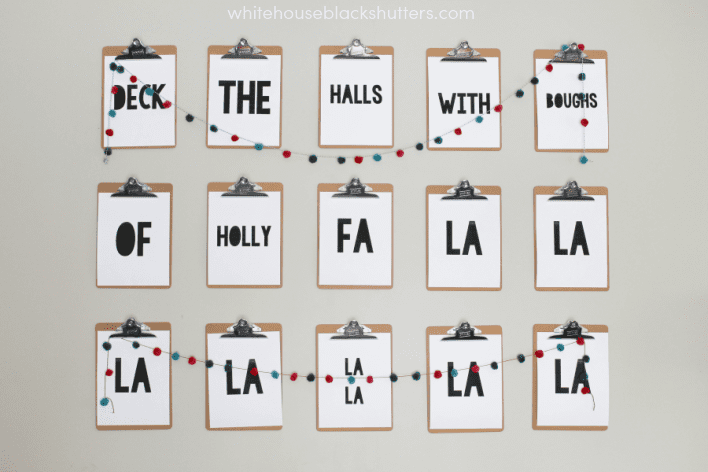
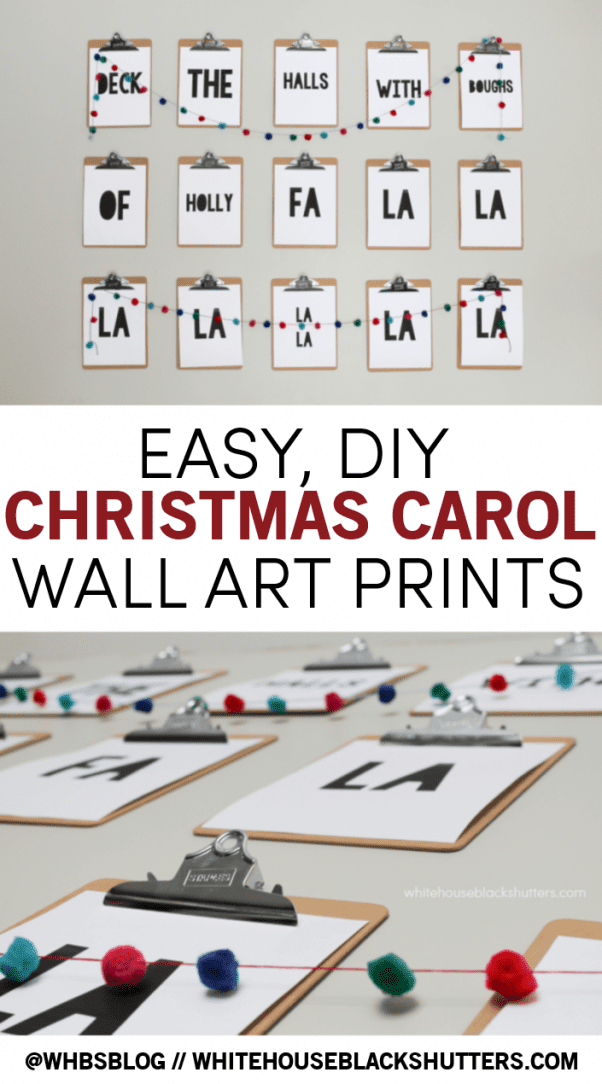
Last spring I added a clipboard wall over our couch and up until now the clipboards have only held up kid artwork. To dress them up for Christmas, I made some simple DIY wall prints with the help of a super cute font and an even simpler garland. I shared it on Instagram and y'all BLEW UP MY PICTURE with likes!! So here's the tutorial on how to make your own.
Have family coming and want to deck your halls super quick? This would be PERFECT in a few picture frames. Or clipboards, cause they're cheap and awesome.
I almost made this into a printable (and I can if any of you would like), but really, it's so simple you don't need one. You just need this great font by Kimberly Geswein, but really, any font will do. I used it on our DIY letter garland as well!
Supplies needed:
-The ADORBALE font KG Bless Your Heart
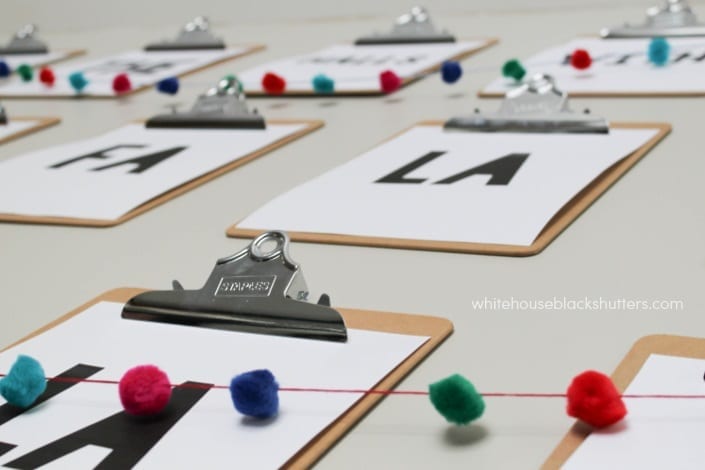
-Cardstock (paper works, but the cardstock lays better if you are using a clipboard)
-Some kind of word processor program (I used MS Word, but any free program that came with your computer will work)
-A printer
-This tutorial on how to hang a clipboard wall
How-To:
-Get your wall ready.
-Download your font or pick one you like.
-Type words into your program, making sure to center em on the page.
-Print it.
That's it!
It's really that simple. To make the pom-pom garland, grab some pom poms from the dollar store and twine, thread, or embroidery floss. I threaded them on just like on my cottonball snowball garland and tied off the ends. I simply draped the garland over the tops of my clipboards like so:
I also used the garland to decorate our blanket fort a few weeks ago! It was a fun touch that took the fort to the next level. Until my 2 year old came through and ripped it down. 😉 You can see the fancy fort on our Christmas movie list printable post.
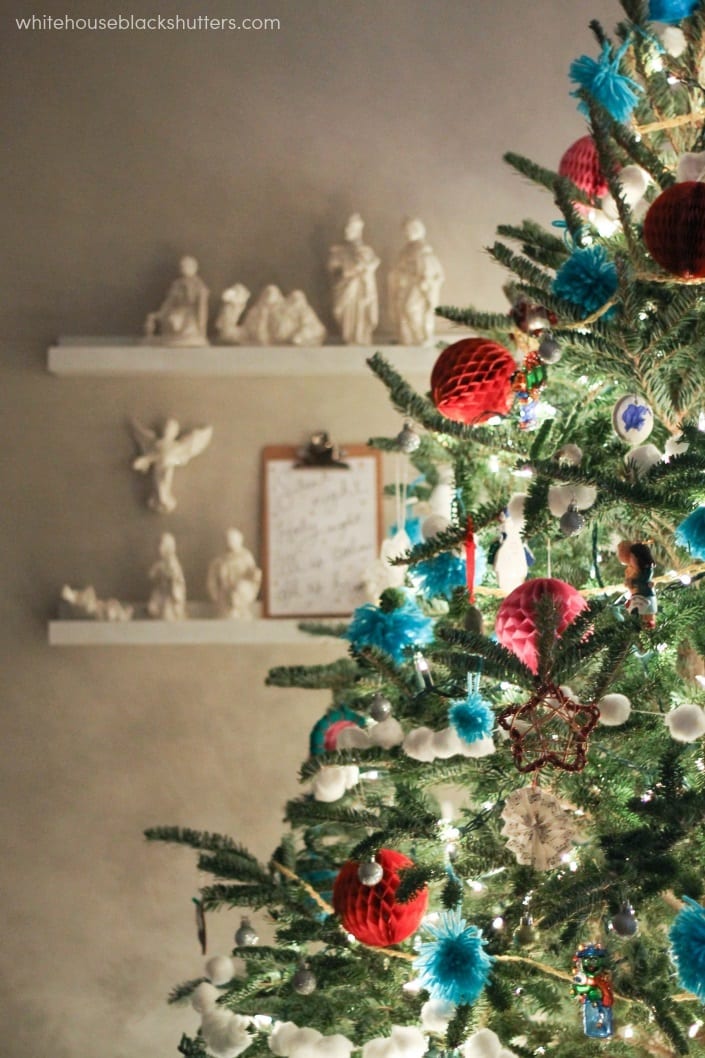
I wanted to share our whole family room and do a Christmas home tour today, but between the noodles on the floor and the pillow fort on the couch and the half of the tree without ornaments, I will take pics and share it soon. I promise to share a picture of the craziness too. 🙂
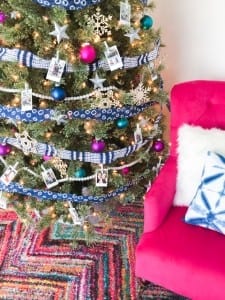
Here's a sneak peek. Between the clipboards and all of the colors, I am loving the kindergarten chic theme we went with this year!
How are you decking your halls? With boughs of holly?
(I think I need some boughs of holly.)
If you're inspired by this project, please tag me (@whbsblog) so I can check your project out! 🙂


longhorn steakhouse coupons
It's going to be end of mine day, but before end I am reading this fantastic article to improve my
knowledge.
Emily @ Not So Idle Hands
Hi Ann Marie~ Those are super cute and i love that it's easy (that's my bread & butta). Thanks for sharing 🙂
Ann Marie Heasley
Thank you, Emily! I'm glad ya like em. 🙂 Easy crafts are always sooo much better!
Katie
What an awesome idea!!! And so easy to change out during the holidays!
Ann Marie Heasley
thank you, Katie! 🙂
Gabbi @ Retro Ranch Reno
Super cute! Love the font!
Ann Marie Heasley
isn't it the best?! Thanks, Gabbi! 🙂
Jenn
One of my favorite fonts of all time!! I'm so in love with this!